What actually destroys wood
Timber has four enemies, and only one of them is in charge:
- Moisture and rot. Wet wood feeds decay fungi. This is the number-one killer of outdoor timber.
- Insects. Woodworm, beetles and termites tunnel through and weaken it.
- Sunlight. UV greys, cracks and breaks down the surface.
- Weathering. Rain, frost and movement open up checks and splits.
Two ideas run through everything below: control moisture, and match the protection to the exposure. Get those right and the product choice becomes easy.
Find the use class first
Before you pick anything, decide how exposed the wood is. Europe sorts every situation into five use classes (EN 335); the US has an equivalent "Use Category" system. This one step decides how much protection you need.
| Class | Where the wood is | Examples |
|---|---|---|
| UC1 | Inside, always dry | Furniture, interior floors, framing |
| UC2 | Inside, occasional damp | Roof timbers, sole plates |
| UC3 | Outside, above ground | Fence boards, cladding, pergolas |
| UC4 | Touching soil or fresh water | Fence posts, deck joists, sleepers |
| UC5 | In sea water | Jetties, marine piles |
The jump that matters is UC3 to UC4. Anything in the ground needs far heavier protection than wood that only gets rained on.
Treatment vs finish
People mix these up constantly. They do different jobs, and outdoor wood usually needs both.
- A preservative treatment goes deep into the wood and protects it from rot and insects. It's about survival. Most fence posts and decking are pressure-treated at the mill for exactly this reason.
- A finish sits on or near the surface and protects against water and UV. It's about appearance and weathering.
Rule of thumb: treatment keeps the wood alive, finish keeps it looking good. Pressure-treated timber still benefits from a finish on top.
Which finish, where
| Finish | Best for | Recoat |
|---|---|---|
| Penetrating oil | Decking, garden furniture | Every year |
| Penetrating stain | Fences, cladding, sheds | Every 2–4 years |
| Film stain or varnish | Doors, windows, joinery | When it cracks |
| Exterior paint | Cladding, fences (opaque) | When it peels |
| Clear sealer | Short-term water repellency | Often |
Clear finishes give the least UV protection. Pigment is what blocks the sun, so the more colour a finish has, the longer it lasts outdoors.
The fence: two jobs in one structure
A fence is two use classes in one, and treating them the same is the classic mistake.
- Posts are UC4. They stand in damp ground all year. Use ground-contact rated pressure-treated timber or a naturally durable species. This is where fences fail first.
- Rails and boards are UC3. Above-ground treated softwood is fine, then a pigmented stain for looks and UV.
What you need for a fence that lasts
- Post anchors or post shoesKeeping the post out of the soil does more for its life than any coating.
- Brush-on end-grain preservativeEvery cut and drilled hole exposes the untreated core of pressure-treated wood. Seal each one.
- Pigmented fence stainOutlasts clear products outdoors because the pigment takes the UV.
- Wide stain brush or pad applicatorWorks stain into rough-sawn boards far faster than a regular paintbrush.
The full guide covers every timber job
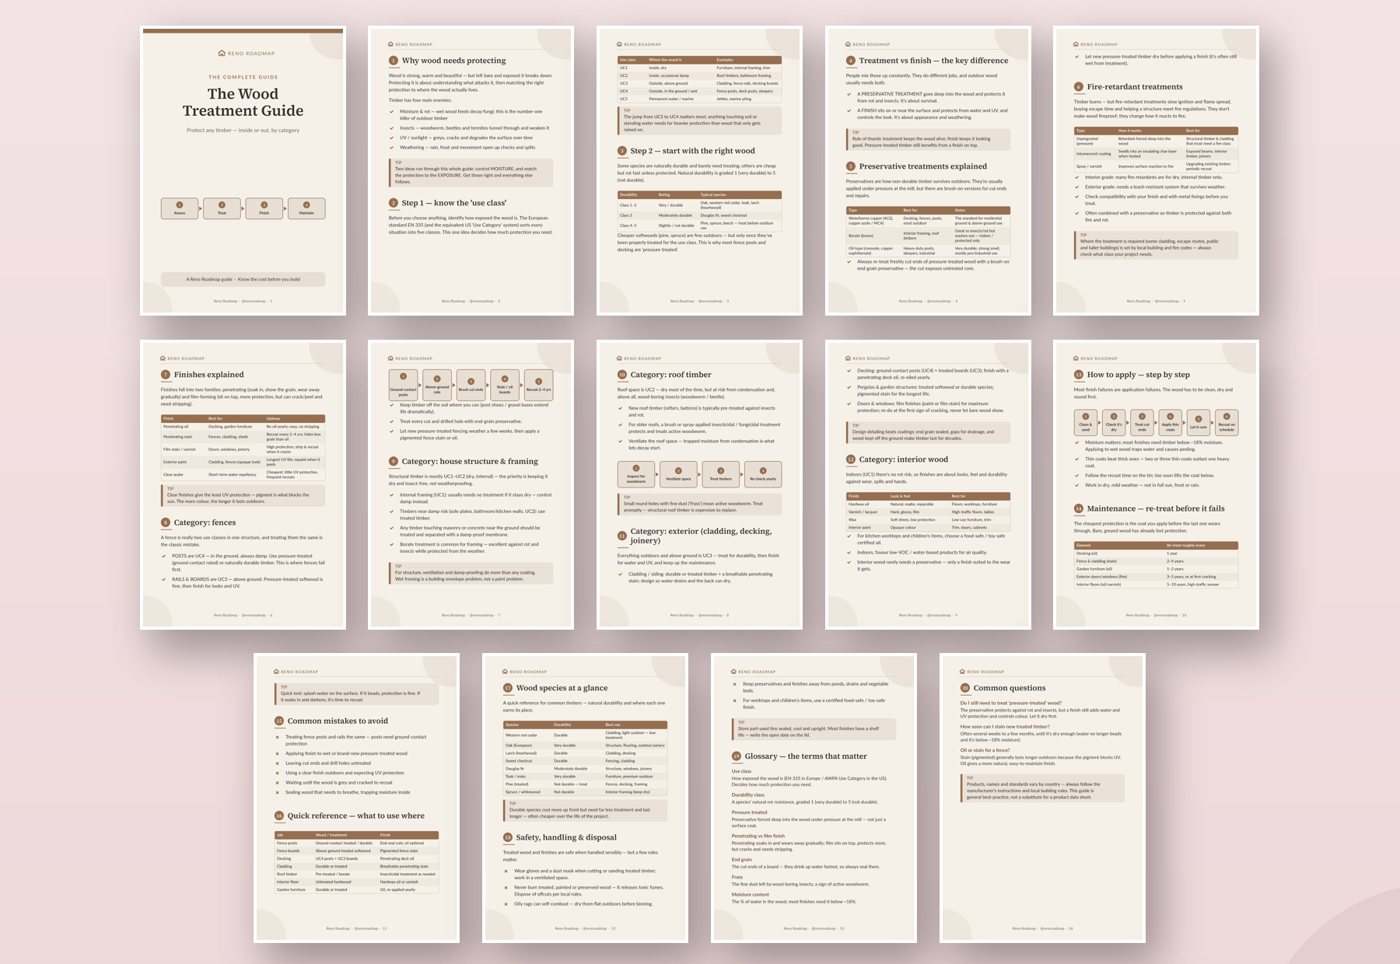
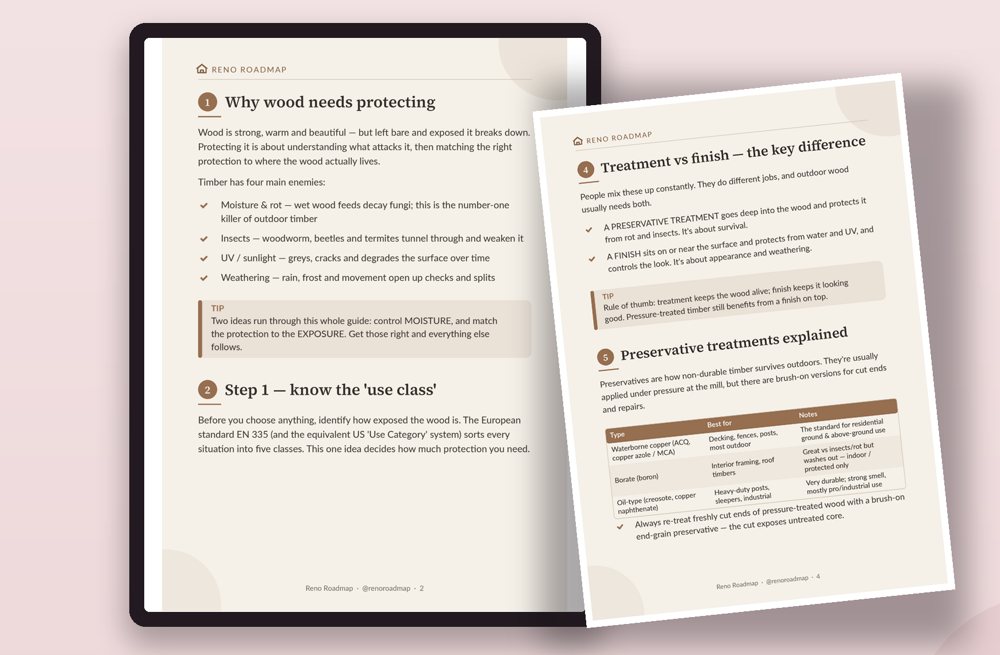
14 pages, organised by where the wood lives: fences, structure, roof, decking and cladding, interiors. Includes preservative and fire-retardant types, a species durability table, a re-treat schedule, safety rules and a glossary.
Get The Wood Treatment Guide · $10Applying it so it lasts
Most finish failures are application failures. The wood has to be clean, dry and sound before anything goes on.
- Check it's dry. Most finishes need timber below about 18% moisture. On wet wood the coat traps water and peels.
- Wait on new pressure-treated timber. It's often still wet from treatment. Give it several weeks, sometimes a few months.
- Thin coats beat thick ones. Two or three thin coats outlast one heavy one.
- Pick the weather. Dry and mild. Not in full sun, frost or rain.
- Wood moisture meterTakes the guessing out of "is it dry enough yet". Cheap, and it saves a whole coat of wasted stain.
- Penetrating deck oilFor decking and garden furniture. Re-oil every year and it never needs stripping.
- Gloves and a dust maskFor cutting and sanding treated timber. Work somewhere ventilated.
Oily rags can catch fire on their own. Dry them flat outdoors before you bin them. And never burn treated or painted offcuts: the smoke is toxic.
The water test
The cheapest protection is the coat you put on before the last one wears through. By the time wood looks grey and cracked, it has already lost its protection.
So test it once a year: splash water on the surface. If it beads, you're fine. If it soaks in and darkens the wood, it's time to recoat.
Mistakes that cost the most
- Treating fence posts and rails the same
- Finishing wet or brand-new pressure-treated wood
- Leaving cut ends and drill holes bare
- Using a clear finish outdoors and expecting UV protection
- Waiting until the wood is grey to recoat
Find your job and go
The Wood Treatment Guide has a quick-reference table for what to use where, and a re-treat schedule for every element of a house and garden.
Get The Wood Treatment Guide · $10Products, names and standards vary by country. Always follow the manufacturer's instructions and your local building rules. This article is general best practice, not a substitute for a product data sheet.